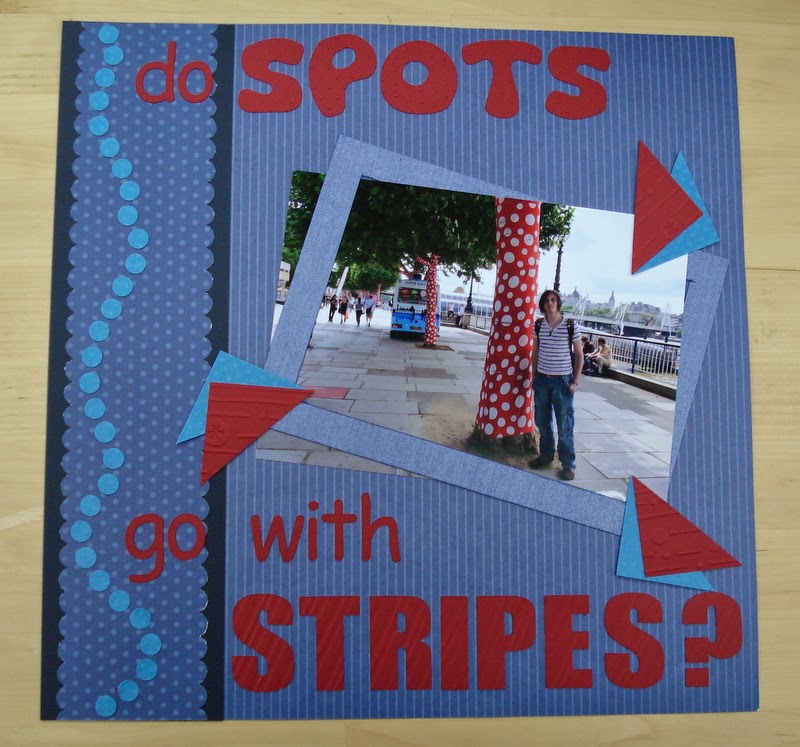
For today's Throwback Thursday I have chosen this layout from 2010. DS1 is pictured somewhere in London where there were a lot of decorated tree trunks. I liked the way he was leaning against the spots in a stripy t-shirt!
I used stripy and spotty papers, cut the title on the robo and then embossed the letters with stripes and spots. As I remember, the asymmetric frame came from the need to hide an object in the photo and one of the triangle pennants was to hide a mistake, the others were to balance the design ...... I embossed those with stripes and spots as well :-)
A blog for cooking and crafts
Showing posts with label craft robo. Show all posts
Thursday, 16 October 2014
Thursday, 9 October 2014
Throwback Thursday - White Easter
For this week's Throwback Thursday, I thought I would share with you the only layout I have ever submitted to a magazine, back in 2008. The challenge theme was "collage", which I interpreted to mean multiple layers, different textures and the odd embellishment here and there.
I didn't win :-) Not that I really expected to, but I was quite annoyed to see that some of the winning entries couldn't really be called 'collage' at all - that seemed a bit unfair on all of us who had done what was asked. I have to say it put me off submitting anything else!
But I do still love the layout in my beloved aqua and white colourway. I seem to remember that the papers were Provocraft and Basic Grey, with silver mesh (attached with brads), ribbon and resin snowflakes. The large snowflake was stamped and embossed in white on vellum. The title was robo-cut and the edging strips around the photo were done with a border punch. I am actually amazed that I can recall such detail from 2008 LOL.
If I were to do it again today, I don't think I would have such a harsh straight line between the Basic Grey snowflake paper and the rest of the page and maybe I wouldn't have split the background exactly in half like that. Apart from that, it's not too bad :-)
I didn't win :-) Not that I really expected to, but I was quite annoyed to see that some of the winning entries couldn't really be called 'collage' at all - that seemed a bit unfair on all of us who had done what was asked. I have to say it put me off submitting anything else!
But I do still love the layout in my beloved aqua and white colourway. I seem to remember that the papers were Provocraft and Basic Grey, with silver mesh (attached with brads), ribbon and resin snowflakes. The large snowflake was stamped and embossed in white on vellum. The title was robo-cut and the edging strips around the photo were done with a border punch. I am actually amazed that I can recall such detail from 2008 LOL.
If I were to do it again today, I don't think I would have such a harsh straight line between the Basic Grey snowflake paper and the rest of the page and maybe I wouldn't have split the background exactly in half like that. Apart from that, it's not too bad :-)
Thursday, 26 September 2013
Let it Snow - for Craft Stamper Challenge Four
The current Craft Stamper Challenge is to use acetate in some way on a project. Now this is well out of my comfort zone, in fact I think the only thing I have ever used acetate for is as a clear front for a shadow box :-)
I decided to stamp and emboss, so after getting some heat-embossable acetate, I used a snowflake circle stamp from Hero Arts. The original intention was to use the circles on a card in some way, but once I had done a few, I wasn't happy with that idea, so pushed them to one side of the desk for a while, to wait for inspiration to strike!
Later ..... a couple of days later! ..... I looked at them and thought how they looked like a little snowdrift, and remembered that I had a snowy photograph to scrap!
The papers are a mix of old and new, the lower swirly one was bought on a trip to America, so either in 2004 or 2007! Curiously, though, they are both from Hot off the Press. I stuck the background snowflake paper to some white card (HOTP are quite thin papers) and stamped the Hero Arts snowflake border along the top. Then I fussy-cut around the swirls on the other paper, shuffled the acetate circles and photo around until I was happy with the positioning, then stuck everything down.
The title is robo-cut (font: Boyz R Gross) and the snowflakes are done with a Martha Stewart punch.
A close up of the acetate:
I rather enjoyed this, definitely need to experiment some more :-)
Labels:
acetate,
craft robo,
Craft Stamper,
embossing,
punches,
stamping
Saturday, 18 May 2013
Dangerous Boy :-)
I have so many unfinished layouts .... this is one of them! DH on his birthday last year, with a very appropriate pressie!
Started - and actually almost finished - at the ATDML retreat last month, but I needed to cut a title .... and do a little journalling ... and I didn't like the way the stamped gears looked on the punched circles. The papers are from a Hot off the Press steampunk collection, mostly, with a cogs paper from Craft Creations and a scrap of cream/gold foiled paper which I think may be from them too. I cut around the design in the corner of the background paper to slide the cogs strip behind it.
I robo-cut the title, the 'watch out' and 'dangerous' are cut using the 'Boys r gross' font .... I like a good font joke LOL. Still wasn't happy with the stamped circles... but DH had laser cut me a whole selection of gears in different sizes from white card, so I inked some up and placed them over the circles - it has made all the difference!
A little bit of journalling along the top of the photo mat and it was finished at last.
Tuesday, 30 April 2013
Beat the Christmas Rush - April
But what happened to BtCR March, I hear you cry? Ahem. Actually these are the cards I made for March - but never got to photographing and subsequently uploading LOL. So now they are all ready for BtCR April!
One of my favourite quick designs, a simple nine-patch card. I used a scalloped square punch to echo the scalloped card blanks and some Craft Creations snowflake papers in pale blue and white. The letters were robo-cut (font: Cairo) from Bazzill (not sure of the colour, possibly Typhoon). The frame is done with peel-off lines, groups the squares together nicely.
The key to success with this design is to line up the squares precisely, or it just doesn't look right!
Wednesday, 14 November 2012
Whodunnit?
Another page which has been complete for months apart from the journalling! In November 2011, we went to a murder mystery evening with our friend Sarah and her parents, plus a couple of her parents' friends. The theme was a Mafia wedding and we all had to 'dress up' accordingly, so we went for combinations of black, white and red between us. DH, Sarah and I guessed the murderer's identity, but while we stepped outside for DH to have a ciggie, the parents and friends changed our team answer and then handed it in! We were gutted!
The page is made from a combination of scraps laid out in an Art Deco fashion, over what must be one of the first papers I ever bought, back in 2004 :-) The border at the base of the page is die-cut using a Nestie lace border die, from a Bazzill gold cardstock which is sadly discontinued - I am hoarding my last scraps of it! The journalling is done on safmat, laid over a piece of pearlescent gold Stampin' Up card. I robo-cut the title and subtitle.
One of my favourite LOs from my 2011 album :-)
Sunday, 28 October 2012
Third Time Lucky - Sarah's Cards October sketch challenge
I am entering the sketch challenge over at Sarah's Cards this month, the details are here:
http://sarahscardsltd.blogspot.co.uk/2012/10/october-sketch-challenge.html
This page shows DS1's driving test pass certificate! He passed on his third go and I am very proud of him - also he is now able to pick me up after an office girlie night out, which is very handy LOL.
The papers are Basic Grey "Two Scoops" - I bought lots of this when it came out, but had got a bit fed up with it, so it was nice to find a good sketch to use some of it up! The title is robo-cut and the border is done with a punch borrowed from Scrappy Sarah at the Cardinal Colours crop last weekend - I thought it was very appropriate since DS1 is such a star for passing the test! I stamped a journalling spot from Stamps Away.
Labels:
cardinal colours,
craft robo,
layout,
punches,
stamping
Thursday, 4 October 2012
H is for Hexagons - Scrapology September challenge
Just sliding in under the wire for this challenge, the closing date is tomorrow! You can find the Scrapology September challenge here.
I used some old papers here - the base layer is from the DCWV luxury stack, which I bought online and hated from the minute I got it, it's really too shiny for me. But as a base layer it isn't doing too badly! I cut an inner square from some old snow swirl paper, which I think I may have bought on one of my trips to America, so that's either 2004 or 2007! The hexagons are punched out of a Craft Creations paper from a couple of years ago and matted onto Bazzill (Admiral?), using a Creative Memories punch.
I used a 12" border stamp from Hero Arts to go around the edges of the frame, wasn't sure how that was going to turn out, but I really like it. The title is robo-cut and the snowflakes are done using a Martha Stewart punch, both out of Bazzill Bling in Diamond. The snowflakes were made into 'bunting' to follow the sketch, by using white embroidery thread attached to brads at each end.
I am very happy with this one :-)
Sunday, 9 September 2012
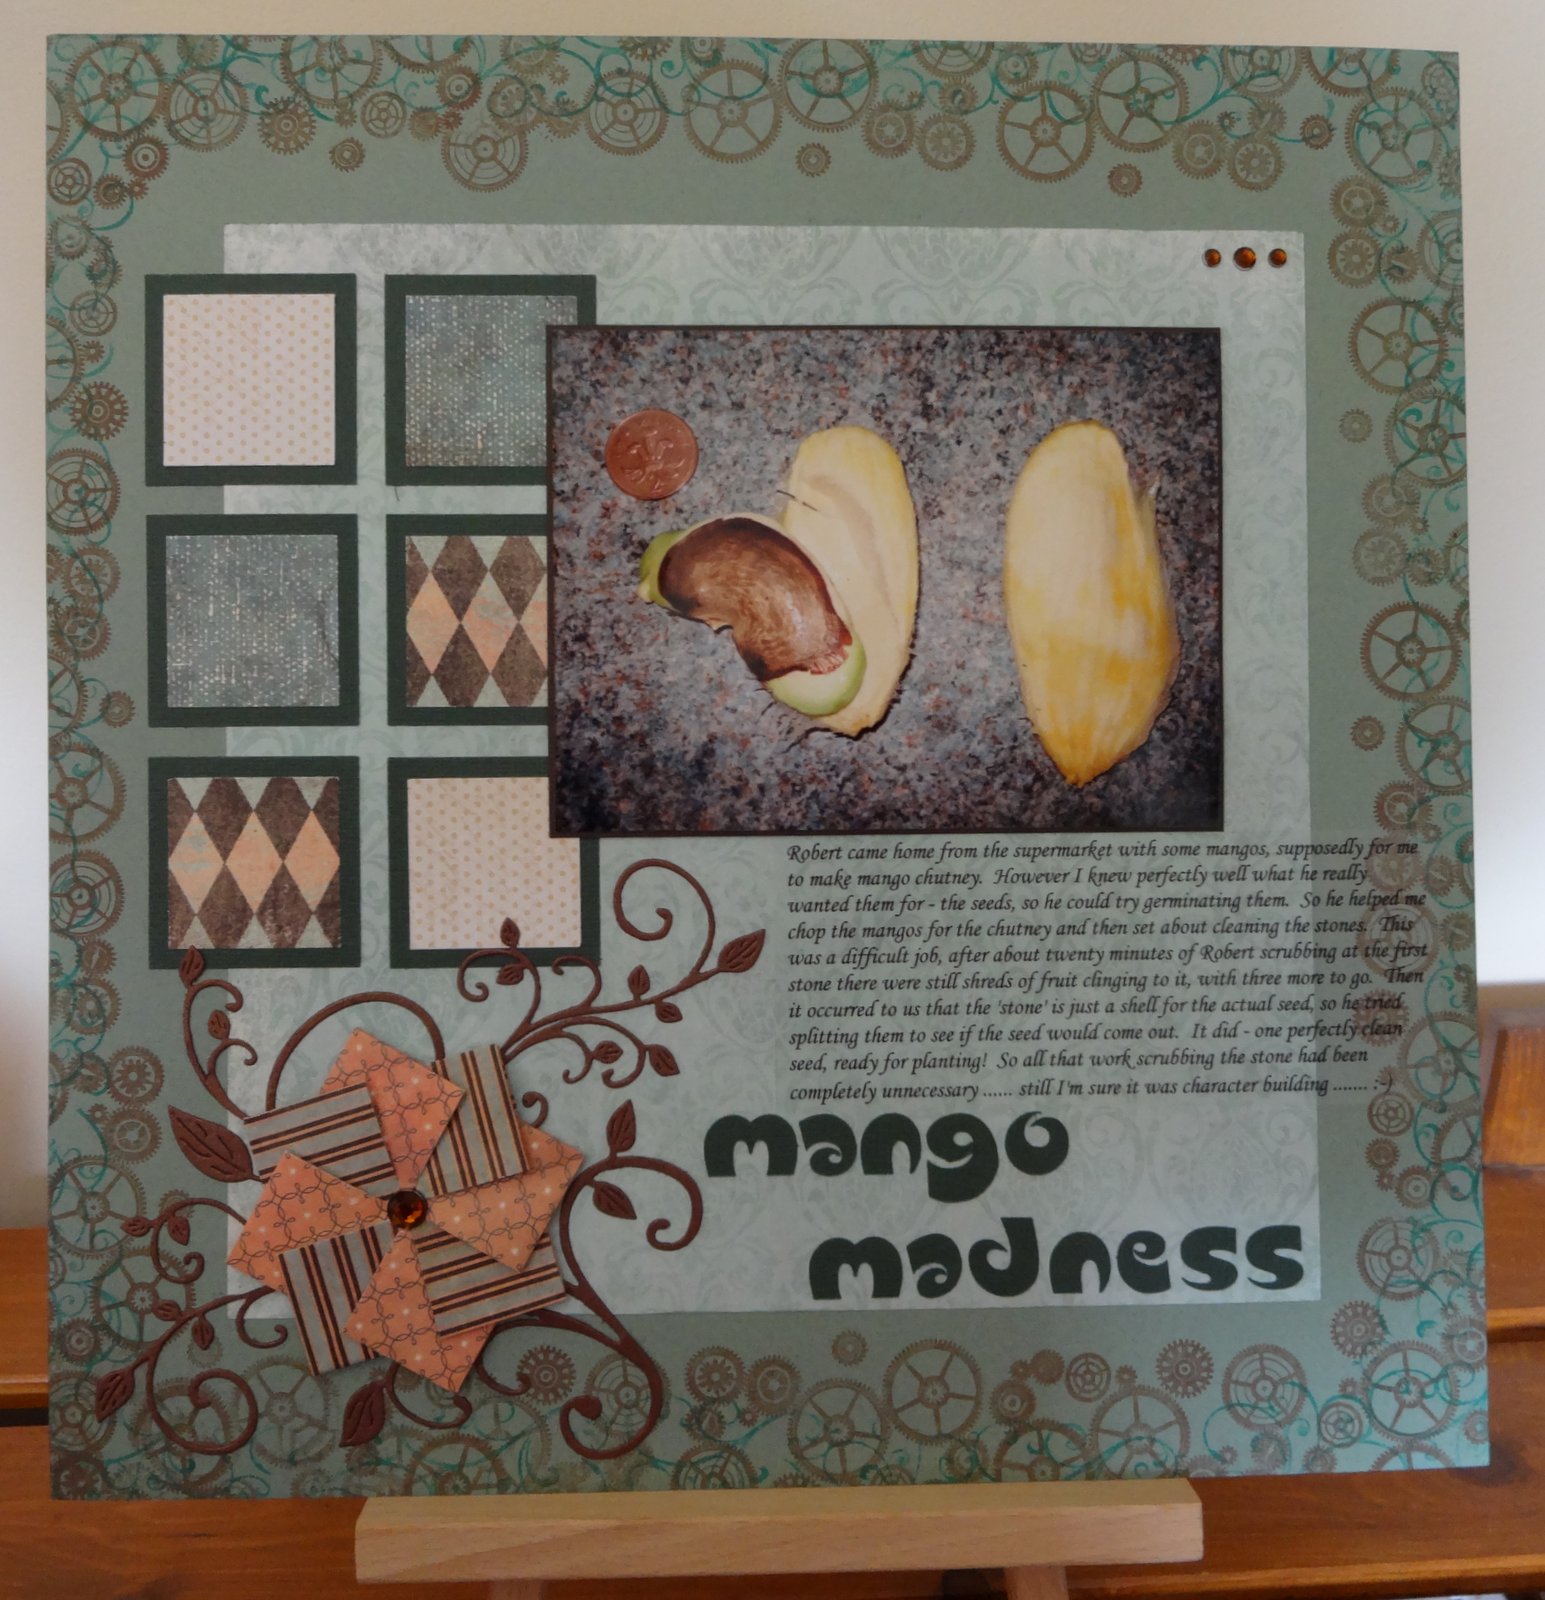
Mango Madness
I have so many pages needing just some journallng to finish them off - so I finally printed all the journalling blocks out onto Safmat and am now working my way through them!
This page is about DS1 buying me some mangos "to make chutney with". He really wanted to try growing the seeds! So I made him help chop the ingredients and then he set about cleaning the stones. 20 minutes later, the first stone still had bits of mango clinging to it and there were three more to go. It occurred to us that actually, the stone is just a protective shell around the seed, so we tried splitting it open - and out popped a perfectly clean seed. All that effort had been unnecessary!
The layout is based on a UKS challenge sketch. I stamped swirls and cogs around the edge of the smooth bazzil, the central square is from the 7 Gypsies Venice collection, as are the small square blocks and the teabag-folded embellishmant. The leafy flourishes are die-cut using two sizes of the same Cheery Lynn die and the title is robo-cut (font: Slugfest).
Thursday, 6 September 2012
Exterminate
DS2 encounters the Daleks at the Dr Who experience!
The background paper is from Craft Creations, it's an all-over splotchy design and I stamped the swirls and gears around the edge. The other papers are from my scrap box, I think the mustard-y one is an old Basic Grey, the cogs and gears paper is another Craft Creations one - I tore and inked the edges of both. I ran some bronze cardstock through the big shot in a dotty embossing folder, then robo-cut the title and embossed the letters in the same way using a wavy design folder. A few eyelets in places and a bit of journalling to finish.
I really like this one, not my usual colours but I think it works!
Thursday, 3 May 2012
Butterfly card
Here is the reverse colourway of the butterfly frame I used in yesterday's card (cutting file downloaded from Crafts U Print).
The card blank started life as bright white and glossy - I applied various distress inks and then over-stamped a swirly flourish (Indigo Blu). The central panel is a paper from Glitz Design from the French Kiss (?) collection, I rounded the corners to echo the shape of the card blank and inked the edges.
I punched out the gold butterflies with a Martha S punch and added pearls. The butterfly collage stamp is form Crafty Individuals, stamped and embossed in Chocolate Brown.
Some pearls and a peel-off sentiment finish it off.
Labels:
birthday card,
craft robo,
embossing,
punches,
stamping
Tuesday, 1 May 2012
Butterfly frame and elegant lady card
This is the birthday card I made for my sister - posted today, fingers crossed it gets there tomorrow! It was quite hard to photograph, so here is one pic with flash and the other without :-)
I started by cutting a piece of gold cardstock to the width of a large (5 x 7?) embossing folder and to a height suitable for an A5 card blank. This left a blank space at the base of the piece which would not be embossed. After running the mat through the Bigshot in the folder, I border punched the base and added a ribbon. Then I matted it onto bronze shimmer cardstock.
The butterfly frame is robo-cut, using a downloaded cutting file bought from Crafts U Print. I cut it in ivory shimmer cardstock and the bronze, then swapped the centres around to give two different versions - the reverse colourway will feature on a card in the very near future! I punched out the smaller gold butterflies with a Martha S punch and attached to the frame, with some tiny pearls on top.
The stamped image is an elegant lady from Stampendous - stamped and embossed in Chocolate Brown, with a few pearls dotted here and there. I cut around the image, inked the edges (carefully!) and positioned it on the mat. The sentiment is a peel-off - I hesitated between copper and gold, went for copper because I thought it would look better with the bronze, but am now thinking gold may have been the way to go........!
I like this, I don't do many A5 cards but this has turned out well. I just hope my sister likes it too :-)
Monday, 12 March 2012
Steampunk-ish "canvas"

I have had this in mind for aaaaaaaaaaages, and now I am done with the pink and glittery for a while (mops brow) I am feeling quite scrapped out, so decided to make a start on this. It is (more or less) the class taught by Anita M at the Cardinal Colours retreat last September. Anita made a gorgeous canvas, as you can see in the above link, but I wanted it behind glass and dust-free LOL.
The papers are from Bo Bunny's Timepiece collection, as are the clock diecut in the centre, the title strip, the mini frame and the journalling box in which I have put the date. Oh and the two fob watches too. Anita's original had flowers on it...... I substituted rosettes and then raided my steampunk charms box for everything I thought could go on. The watch faces in the centre of two of the rosettes are clip art downloaded from The Graphics Fairy - some great stuff on there!
I added as many crystal swirls as I could reasonably fit on, some robo-cut gears (downloaded file from UK Scrappers forum), attached a key and mini fob watch to a chain and hung it from a brad.
The stamped cogs-and-gears heart is a Technique Tuesday stamp - lovely crisp impression, even with embossing powder, as here - Stampendous Chocolate Brown.
The hardest part was getting DH to scan the photos ............ he would so much rather have been playing with his own toys, er I mean machines ...... I painted the box frame (bought from The Range) in gold acrylic paint and assembled the completed picture.
Some close ups of the details:
The papers are from Bo Bunny's Timepiece collection, as are the clock diecut in the centre, the title strip, the mini frame and the journalling box in which I have put the date. Oh and the two fob watches too. Anita's original had flowers on it...... I substituted rosettes and then raided my steampunk charms box for everything I thought could go on. The watch faces in the centre of two of the rosettes are clip art downloaded from The Graphics Fairy - some great stuff on there!
I added as many crystal swirls as I could reasonably fit on, some robo-cut gears (downloaded file from UK Scrappers forum), attached a key and mini fob watch to a chain and hung it from a brad.
The stamped cogs-and-gears heart is a Technique Tuesday stamp - lovely crisp impression, even with embossing powder, as here - Stampendous Chocolate Brown.
The hardest part was getting DH to scan the photos ............ he would so much rather have been playing with his own toys, er I mean machines ...... I painted the box frame (bought from The Range) in gold acrylic paint and assembled the completed picture.
Some close ups of the details:
Labels:
craft robo,
die cutting,
embossing,
stamping,
steampunk
Tuesday, 6 March 2012
Little MIss Mischief
A nice simple page :-) I probably wouldn't have normally scrapped these pictures, since there is no obvious theme or story to tie them to, but DH took the photos knowing how desperately I had been asking Little Girl's parents to send me some, so I used them. Then I got a last minute deluge of photos sent over, but that's another story.......
I pulled out three blue papers from stash, cut out the panels and inked the edges, then stamped swirls in two different blue inks in the corners. After assembling the panels and the photos, I decided the page needed a frame, so I used a border strip punch (EK Success). I wanted the title to look like a Mr Men/Little Miss book, so hunted through my font collection to find one that matched and robo-cut it (font: Elementary).
Thursday, 1 March 2012
Castles in the sand
Little Girl and Big Sister at the beach :-) The photos were quite neutral so I decided to go for brighter papers (Kaisercraft?) including purple to pick up Big Sister's jacket. I liked the 'waves' on this paper!
I put the main paper onto some purple backing card at an angle and stamped all around the edge in a metallic purple ink, it doesn't show up much in the photo unfortunately. I also doodled around the edge of the central square. Then I added two strips cut from co-ordinating papers. Having laid the photos over the top I felt it still needed something so I made a windmill.
The flourish is die-cut and the title robo-cut (font: Monster Paparazzi).
Friday, 24 February 2012
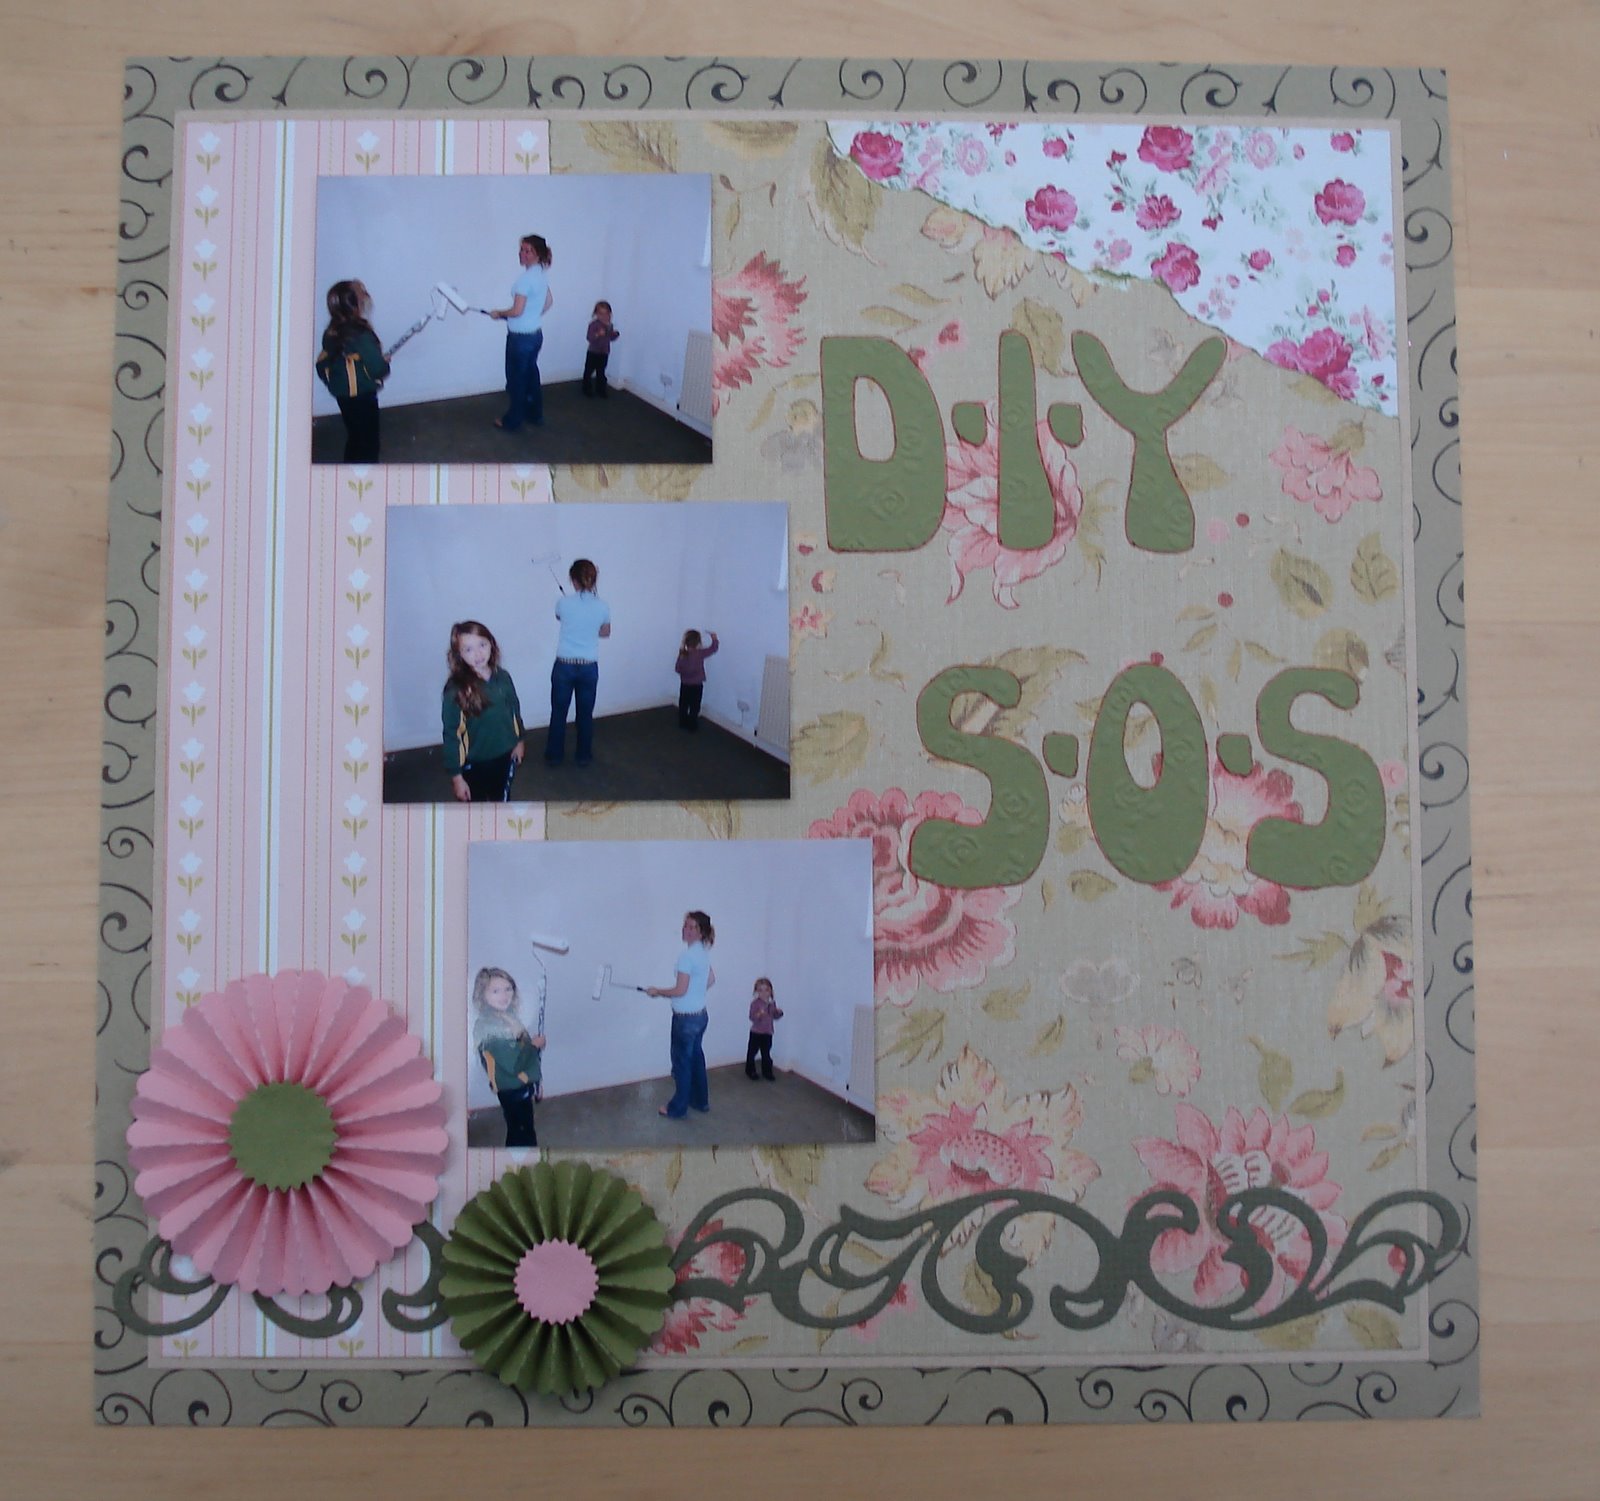
DIY SOS
The arrangement of the papers in this LO was inspired by a page seen in the UKS gallery - I don't now know whose, if anyone can enlighten me, I will credit!
There are five different papers from stash in here - I think the two very flowery ones were given to me by LG's mum. Since the LO is about decorating I wanted the papers to look like torn back layers of wallpaper.
The title is robo-cut (font: Syreeta) and then I put the letters through the Bigshot using a flowery embossing folder. The rosettes and swirly strip are both Sizzix dies.
Thursday, 23 February 2012
Hello Kitty
Another stashbusting LO! I have had this paper for years and have no idea what it is, but am glad to have used it at last :-)
A lot of cutting on this page - the scallop border is robo-cut, the ovals are punched, the swirls are die-cut and I hand-cut the frame! The embossed piece of cardstock is done with a paisley embossing folder. I overstamped the white flowers using purple ink and added gems to their centres.
I used purple nailheads along the border, the cat stamp was a Christmas present from LG's mum and the letters were from the goody bag at the Cardinal Colours retreat last year - must admit, I never thought I would use these glittery letters ...... but here they are!
But the most remarkable thing about this page ...... is that ...... I can hardly bring myself to say it :-) ...... it has my first ever use of ...... stickles ...... on the die-cut swirls ...... shhhhh ...... don't tell anyone ......
Wednesday, 22 February 2012
Sisters
In every Little Girl album, there must be a LO called "Sisters"........ :-)
I matted some Bazzill dotted Swiss onto black cardstock, then layered the pink and black papers (from stash - no idea what they are, although maybe Paper Salon) over the top. The border is done with a Martha Stewart daisy fan punch and the title is robo-cut (font: Santas Big Secret), then I added some flowers and blingy swirls to finish.
This is a bit far into the Pink Zone for me, though the black goes some way towards rescuing it ......... I go even further in later pages and there may even be some (whisper it) glitter coming up ....... !!!
Monday, 20 February 2012
Reasons to be cheerful
This is the other LO I used a song title for, as mentioned briefly yesterday. It is also one of the very few pages I have ever done a complete restart on, having ripped up the previous version!
The papers are from Paper Salon, both for the background and for the rosettes - yes I have succumbed to a Tim Holtz mini rosette die. After the trouble I had scoring and folding one by hand at the retreat, die cutting is the way to go! The title is robo-cut (font: Boingo) and I added the captions using 5mm peel off letters from Craft Creations, very fiddly but I like the effect. The bling swirl has been in my stash for about three years now, I am glad to have finally used it up :-)
Sunday, 19 February 2012
Girls just want to have fun
Finally, after much pleading and begging for photographs, the 4th Little Girl album is finished and ready for handover a week today. It's going to take a fair few posts to share all the pages with you!
To start with, one of my favourites from this album. I am not really a fan of kraft paper, but when I saw these papers (My Minds Eye?) at Sarahs Cards retreat, I bought a few with this photo in mind - and my table mate Mandy gave me the length of muddy footprint twill ribbon when I described the picture to her - thank you Mandy!
I stamped swirls all round the edge of the background sheet, then tore two different pieces of patterned kraft and inked the edges. Then it was just a case of layering everything up. I made a windmill and cut up a couple of bling swirls to go around it, then added some buttons, with a little cluster of eyelets & bling in the top corner.
The title was the main problem - I hadn't been able to think of one since having the page idea at the retreat, all that came to mind was something to do with being wet and muddy....... but I had had a similar problem with another page and had used a song title for it and suddenly the lightbulb came on - 'Girls just want to have fun' - perfect! I robo-cut it (font: Polo) in green to pick up the pattern on the paper.
This page is well out of my comfort zone with its torn and inked edges, kraft and general grunginess, but I really like it. And, do you know, I have been tearing and inking edges rather a lot since the retreat - I might even be getting used to it........ gasp!
Subscribe to:
Posts (Atom)