A blog for cooking and crafts

Showing posts with label crackle glaze. Show all posts

Monday, 9 March 2015

BiTi Monday - tall narrow steampunk-ish drawers

Hmmm .... so much for a week of Buy it - Try it .... just didn't happen last week!  A combination of real life and a new DVD, season 6 of The Mentalist :-)
I have at least finished the UFO mentioned in the last post - the 'new' part of it being the crackle glaze!  It's a narrow chest of drawers, made of wood and bought originally from the Craft Barn, I think, it was several years ago.


I had primed it a while ago and got DH to laser cut some cogs to go around the drawer knobs.  The main body was painted with a pale cream, the drawers and cogs were painted bronze.  I applied the crackle glaze to the drawers and when it was dry, applied some Paperartsy paint in Hyde Park over the top.  The bronze crackles come through like magic!  At that point, it became obvious that the cream was too light and bright against the drawers, so I re-painted the body with Paperartsy Irish Cream.

I then cut some Venetian paper for the top and sides - bought a few years ago on our first trip to Venice, I have been hoarding it!  But it's time to start using it as we are going back next week for our 30th wedding anniversary and DH will raise an eyebrow if I buy any more without using at least some :-)


Here are the side and top views, I did hesitate about putting an extra decoration on top, but I am happy with it as it is.  Another UFO conquered!

Sunday, 4 May 2014

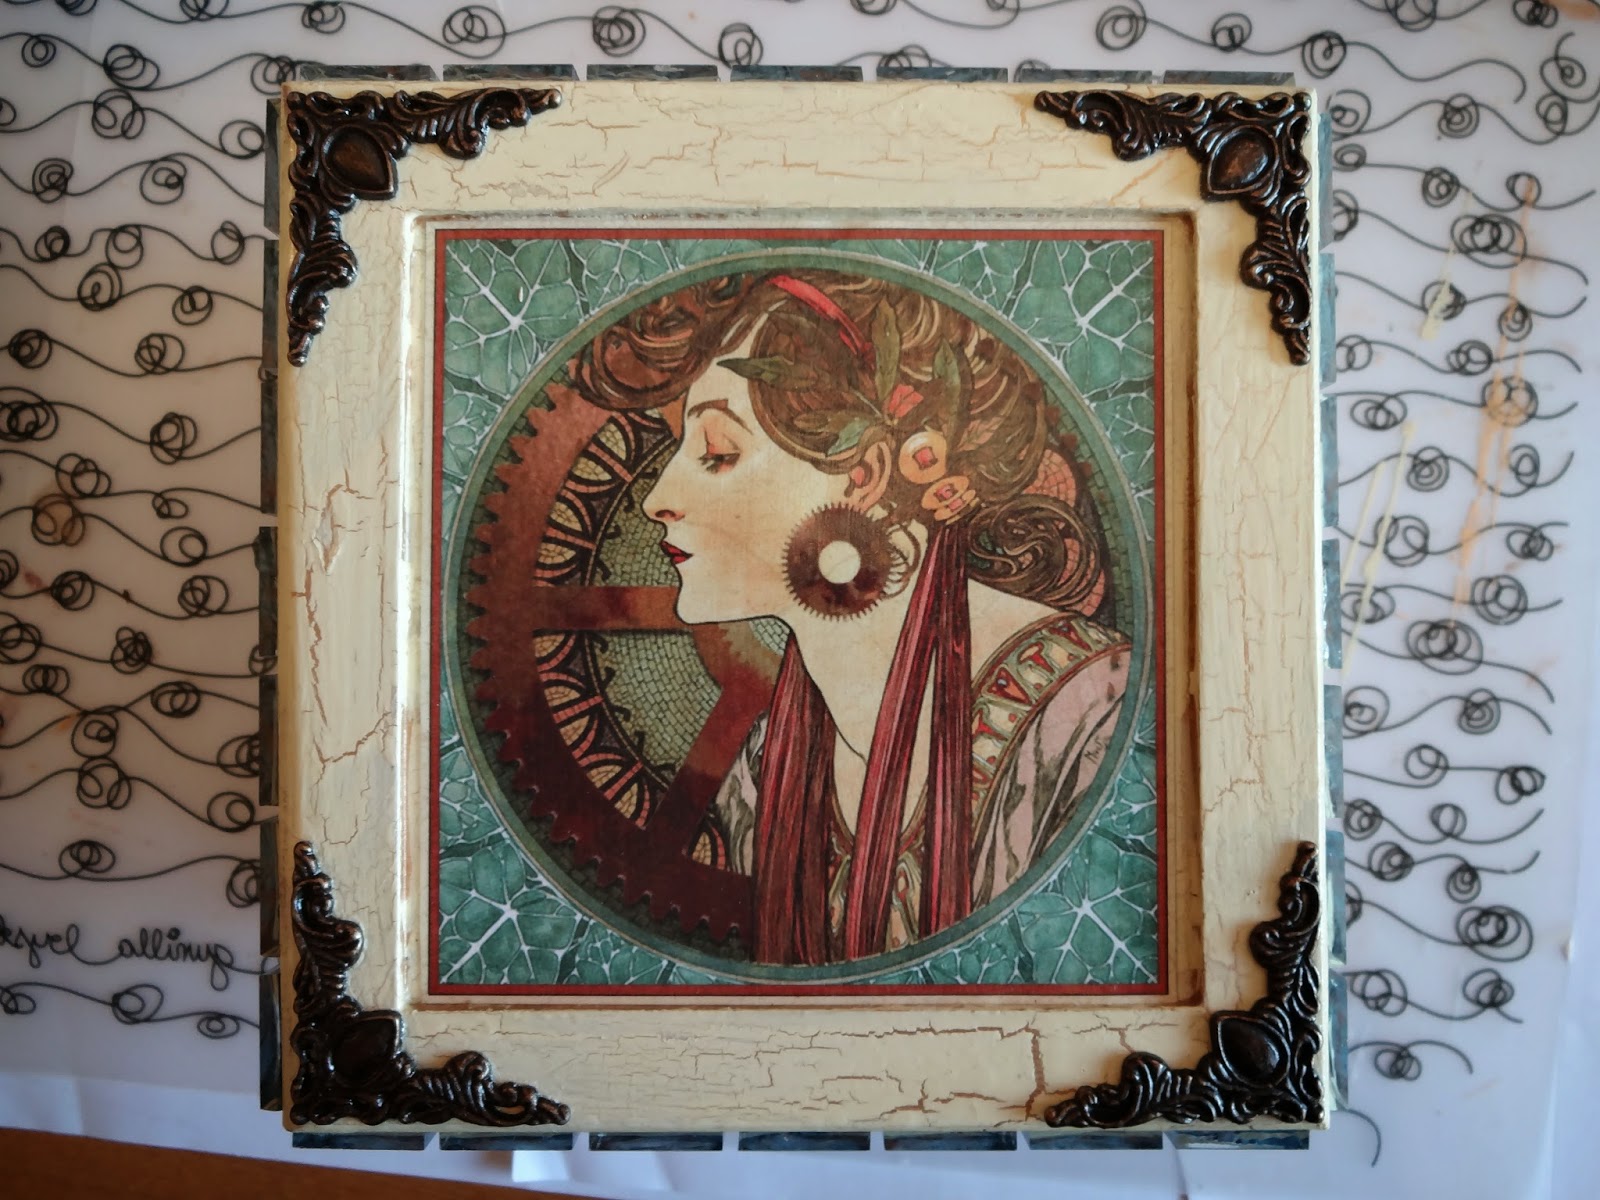
NESY - Steampunk Lady decorated box

UFO's, WIP's and NESY's ....... Unfinished Object, Work in Progress, Not Even Started Yet .... we all have them, don't we?  I am trying to reduce the pile! 

This one is definitely a NESY.  I have had this box for three or four years and bought the Graphic 45 sheet of paper two or three years ago, specifically to use this image on the box.  I even put the blank box on a shelf so that it was in plain sight and therefore would motivate me to do it!  It's been there about a year ..... or so ......

The box after priming


Painted gold as a base colour for the crackle glaze


Crackle glaze applied, left to dry, over-painted with cream


I missed photographing a couple of steps LOL, but here is the box with Venetian paper adhered to it and a gold line on its base.  Also the lid with the image, mosaic tiles around the edge and metal corners which have been alcohol inked to colour them.


A close up of the finished box


I am so pleased this is now finally finished - after three years or so of procrastination, it took a week overall, one step every evening after work and then the final bits this weekend.  I have put it back on the shelf and am waiting to see when DH notices that it is done ........ :-)

Wednesday, 12 February 2014

Order and Chaos

A while ago, I cleared out my craft room.  Literally.  I took everything out of the room ... then tried to get it all back in!  I gave or threw away a lot of stuff.  I found all sorts of things I had forgotten about, including a large number of wooden items I had bought to "do something with".  These wooden tea light blocks came, I think from the Craft Barn and are made by Artemio.


I primed them, then painted them gold.  Then I applied Paperartsy crackle glaze, left to dry and over-painted with a burgundy acrylic paint.  They stayed like that for a while, I knew I wanted to use texture paste, but didn't have it quite straight in my head as to how I wanted to proceed.  Then I bought the random circles mask and realised that I could use it on one block, with the gridded squares mask on the other block.  And so Order and Chaos came to be ......
I used some Treasure Gold through the stencils once the texture paste had dried, then when that had cured for 24 hours, I used a matt varnish over the whole block - Americana Duraclear Matte varnish, again from the Craft Barn.  It is the best varnish I have found so far for a really matte finish, but it does need to be stirred thoroughly so that all the matting agents are well mixed rather than sunk to the bottom of the container!
I put some green sticky-back felt/baize on the base and they were done.  They are a little more burgundy than they appear in the photo, not quite so red :-)  One wooden item down, 999 to go......

Wednesday, 6 February 2013

A bit late or very very early?


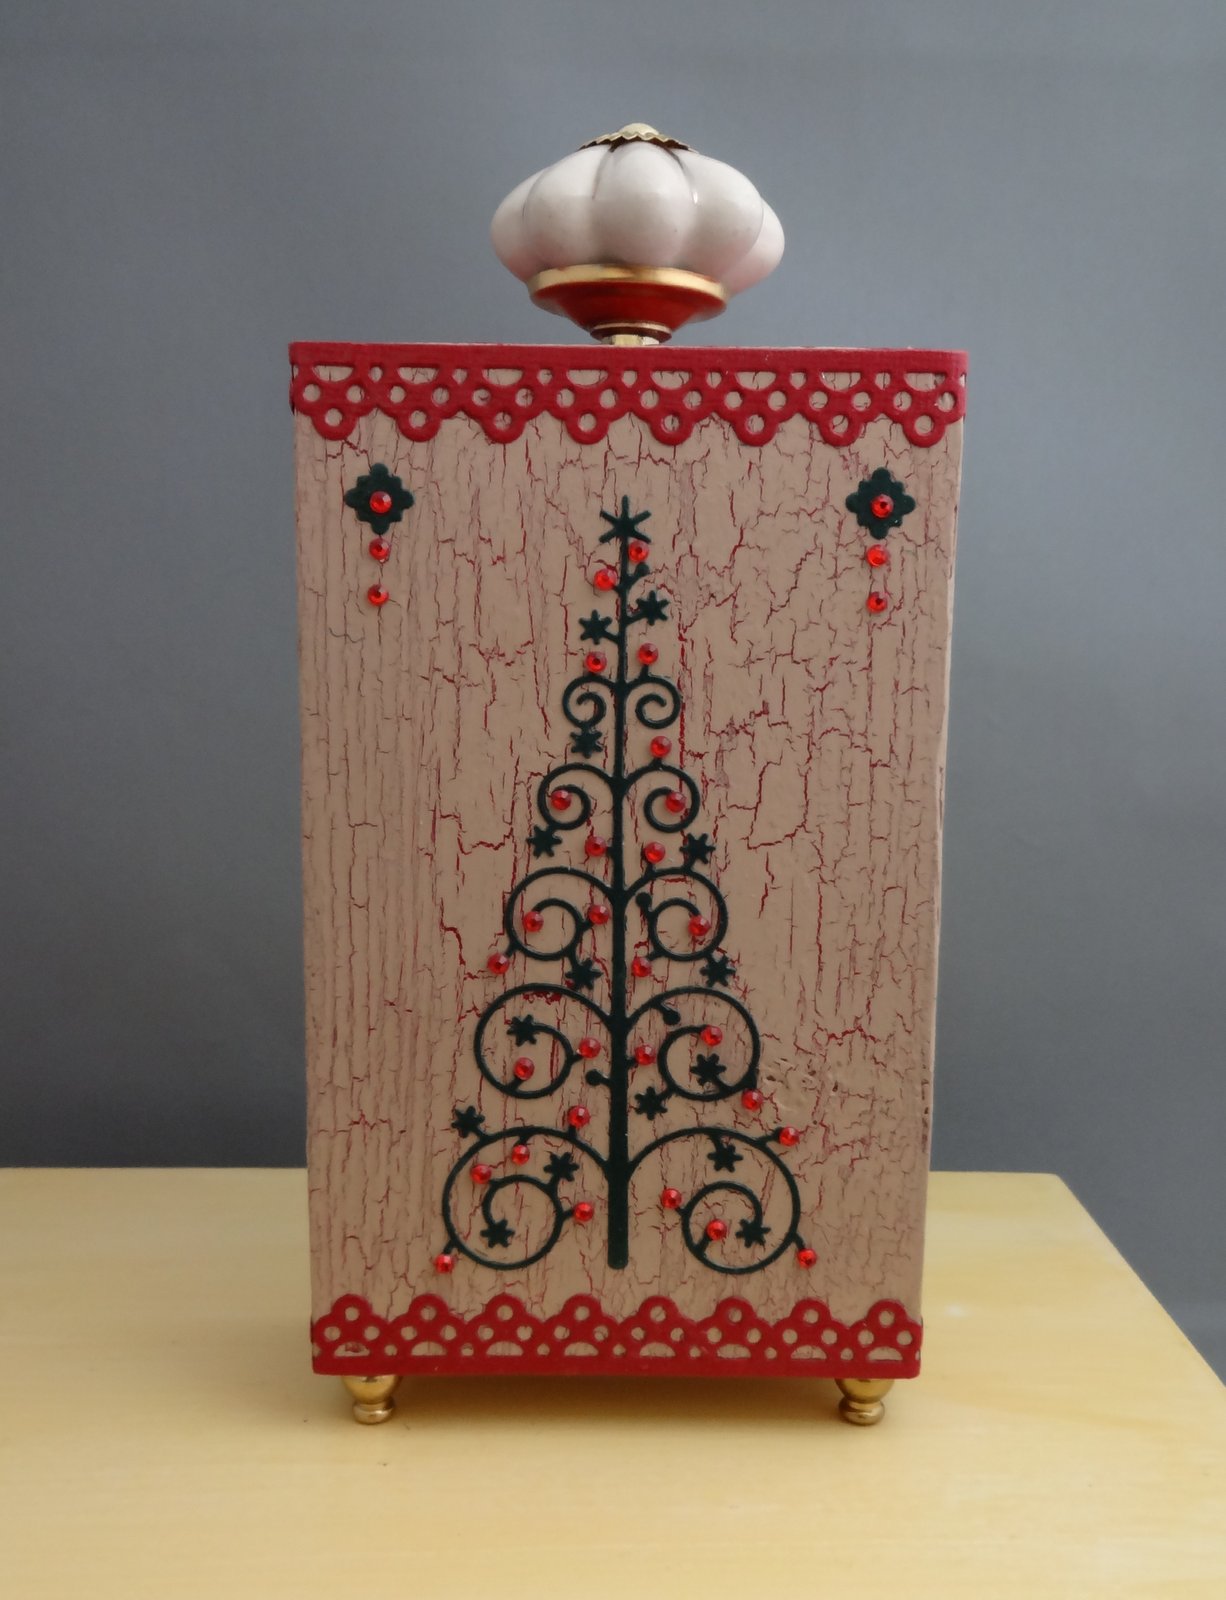
Yes, it's a Christmas decoration :-)  I did start it in late December, but then Christmas itself got in the way and I never got around to finishing it! 
It's inspired by an article in Craft Stamper a little while ago, the designer had decorated a block of wood about 6" x 4" x 2".  So I bought a 6ft length of 2" by 4" timber for around £10 and got DH to cut it into 6" lengths, 12 altogether.
The magazine project involved stamping on card and layering the images onto the block, but I decided to paint mine.  I wanted to try out a crackle effect and used Paperartsy crackle glaze, the base coat was a deep burgundy acrylic, after that had dried I applied the crackle glaze with a palette knife - I had never used the stuff before and the first side I did is not great, that's why it's at the back LOL.  When that had dried I applied some Paperasrty fresco paint in Irish cream over the top and it just about crackled as I watched, amazing stuff!
The borders and the tree are diecuts, Dienamics and Memory Box, I also die cut a trellis to go on each side and the back - forgot to photograph that - the small decorations over the tree are made with some of the 'waste' from that die-cut.  I put red crystals all over the tree.  The top has an embossed piece of card stock to hide the end grain of the wood.  All the cardstock pieces are attached and sealed with Mod Podge.
I got the lovely handle from Amazon, they have a staggering amount of drawer handles, would you believe :-)  The feet are proper box feet from a specialist seller, though the carriage charge was horrendous - next time I will buy several sets of four rather than just one!  DH drilled the holes for handle and feet, I didn't trust myself to get them straight :-)
I don't want to put it away now!
Hmmm ... now what shall I do with the other eleven blocks?!!!!
Posted by Picasa